Key takeaways
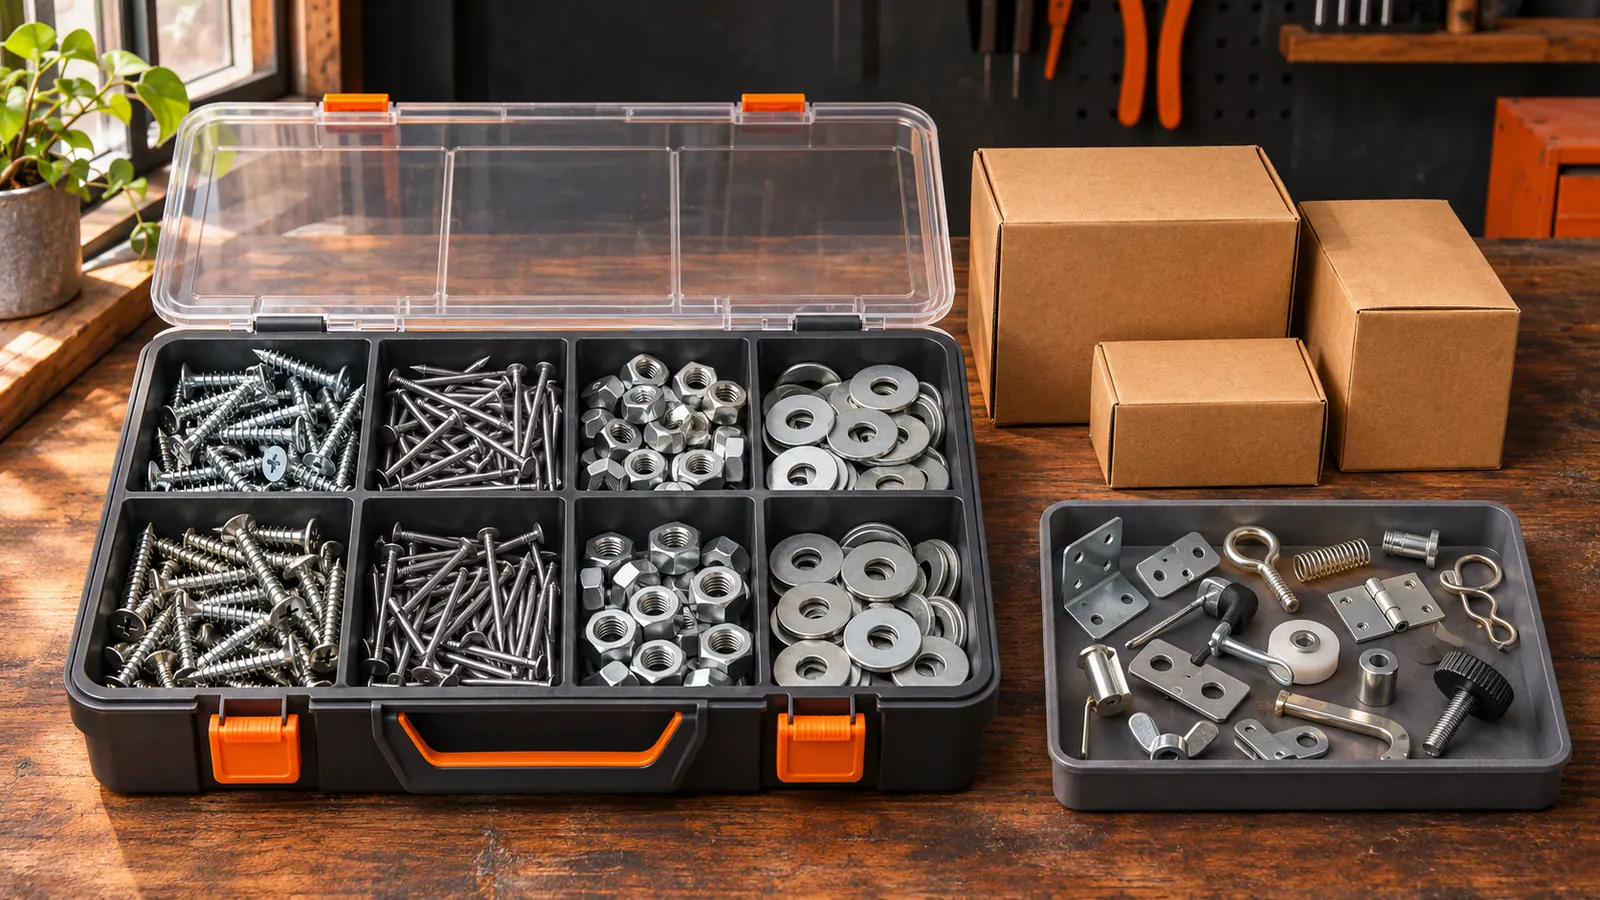
Organize screws and nails by keeping identified fasteners with their original descriptions, then sorting them into labeled compartments. Keep unknown pieces separate. A well-organized box should help you choose a known fastener, not make an unidentified one look suitable for the job.
The common mistake is buying a large cabinet before working out what needs to go into it. Start with the boxes, bags and loose hardware you already own. Preserve the useful labels first; choose storage after you can see the groups.
Begin with labeled packs, not the mixed jar
Place the original fastener packs on the bench and keep each pack together. A half-empty carton can contain more useful information than a full unmarked drawer. Keep the product code, size, coating description and any application information that came with it.
Transfer a pack only when there is a practical reason: the carton is damaged, the compartment is easier to carry, or several identical packs need a single location. Copy or retain the original label before transferring the contents.
Do not combine two packs because the fasteners appear similar. Match the full product identity and description first. Differences that are easy to overlook while sorting may matter when the fastener is used.
Use broad groups that match the hardware you own
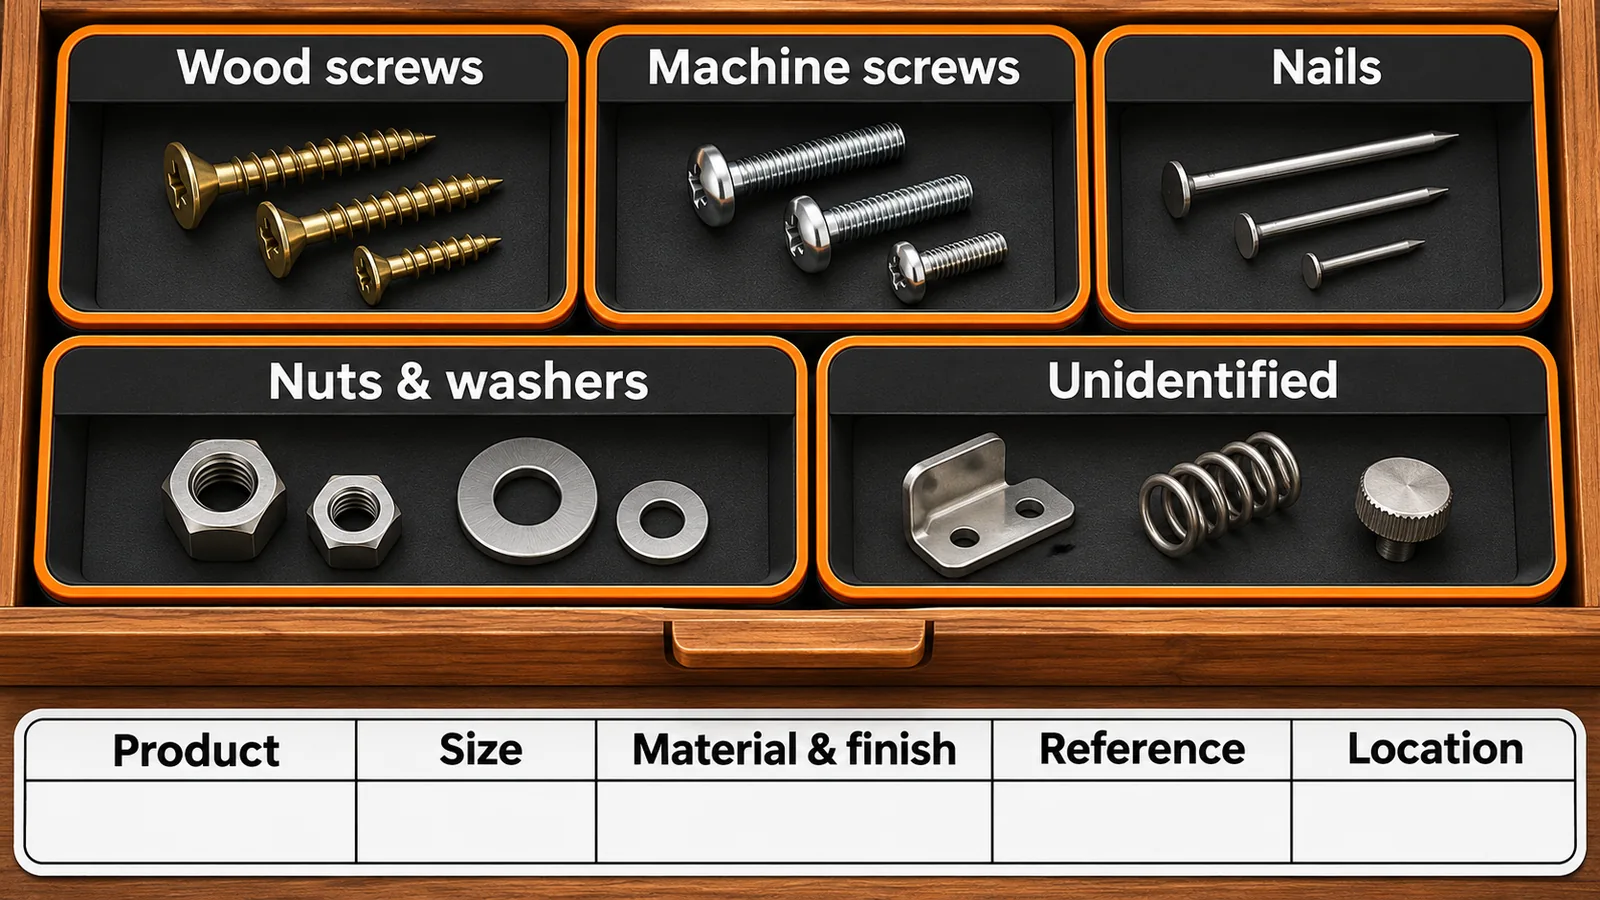
Separate confirmed groups such as wood screws, machine screws and bolts, nuts and washers, nails, and other identified fixings. These are suggested storage groups, not a complete fastener classification. Use fewer groups if the collection is small.
Keep a project’s specialized or specified fixings together with their documentation. They do not have to join the everyday mixed inventory just to make the cabinet look uniform. Set unidentified pieces in their own tray while you decide whether further identification is worthwhile.
Bolt Depot’s fastener-identification guide describes identification using type, material, diameter, length, and thread pitch or count where applicable. Use those attributes to understand what information is missing. It is not enough to identify something only as “a small silver screw.”
For an illustrative length label, retain “2 in” and optionally add “50.8 mm” in parentheses. This conversion uses the NIST definition of the inch. Keep the original diameter and thread designation too; a converted length is only one field on the label.
Sort confirmed items within each group
Use the descriptions from the original packages rather than creating a new size system. Keep metric and inch-based descriptions distinct. Within one identified product family, arrange sizes in an order you can scan comfortably.
For example, you could arrange compartments by diameter and then length, provided each full description remains on the label. Another workshop may prefer a small case of frequently used project hardware and a separate reserve box. Both can work if the label directs you to the right item.
Do not label a compartment “universal screws” or “outdoor nails” based on appearance. If the packaging specifies a material, finish or approved use, retain that information exactly. If it does not, leave the field unconfirmed rather than filling it with a guess.
Copy this hardware label
| Field | Record |
|---|---|
| Product or fastener type | Original name and brand, if known |
| Size | Full package notation, including units and applicable thread details |
| Material / finish | Original description only; otherwise “unconfirmed” |
| Drive or head description | Copy the known specification where useful |
| Product code / reference | Original pack, order reference or retained instructions |
| Location | Case, drawer or bin identifier |
Put the readable label on the part of the container you actually see. A cabinet drawer needs a front label; a lift-out cup may also need its own label. Otherwise the identity disappears as soon as someone carries the cup to the bench.
Where practical, retain the original label inside a separate label pocket or with the case documentation. A short front label is a quick locator; it does not need to replace the full product information.
Choose the container after sorting
| Storage option | Useful for | Check before filling it |
|---|---|---|
| Original boxes in a shallow tray | A small collection with good labels | Labels face up and boxes can be removed individually. |
| Portable divided case | Hardware you carry to projects | Partitions fit securely and the lid closes without mixing the compartments. |
| Drawer cabinet | Many identified types stored at one station | Drawers and cabinet are suitable for the intended contents and installation. |
| Removable labeled cups | Taking one fastener type to the bench | The label stays with the cup when removed. |
| A separate project box | Specified fixings reserved for one build | Project name and original instructions stay together. |
Inspect a portable case before assuming its dividers keep small parts apart. Check how the divider meets the base and lid. Follow the maker’s intended use, keep the case within its limits and avoid filling it so tightly that the lid needs force.
For cabinet storage, check the supporting surface and the manufacturer’s installation requirements. Hardware can accumulate gradually; a useful organizing plan should not rely on an unverified wall-mounting or furniture setup.
Give unidentified hardware a separate destination
Use a clearly labeled “unidentified — not ready for use” compartment. Do not return those pieces to the known inventory merely because you have found something they resemble.
If you want to identify a piece, compare it with the original packaging or reliable product documentation. Measuring can help describe dimensions, but dimensions alone do not establish material, coating, grade or suitability. Ask the supplier or use a known specified replacement where those details matter.
Keep damaged or questionable items out of the ready-to-use stock while you assess them. Do not let the unknown tray grow into a second mixed jar. Review it separately, and use local disposal guidance when discarding hardware or contaminated packaging.
Keep the system usable after the first sorting session
Before opening a new pack, decide its home. Copy the label or keep the box intact, then place it in the named compartment. When a project finishes, return only items whose identity is still certain.
Use the same location names as your drill-bit and accessory storage. “Drawer B, case 2” remains useful when you add a cabinet; a label such as “miscellaneous” becomes less useful every time another item joins it.
Example: sort a small collection without buying a cabinet
Start with a shallow tray containing your original fastener cartons. Turn their labels toward the opening, group confirmed product families together and give the tray a location name. Use a separate project box for a set of specified fixings that must stay with its instructions.
Next, handle the loose items whose identity you can confirm from their source. Put each group in a small suitable container with its own copied label. Keep uncertain pieces in the unidentified tray. Do not tip them into the closest-looking carton to free up space.
Now consider what you carry away from the bench. If you normally take one fastener type to a job, removable labeled cups may be useful. If the entire tray stays in the workshop, original cartons may already do the job. This is a proposed workflow, not a tested claim that one container saves a particular amount of time.
Only after using the arrangement should you decide whether a larger case is needed. Choose the container for the actual labeled groups and the way you retrieve them. Leave space for a refill rather than treating every empty drawer as a reason to collect more hardware.
Use a simple location list for reserve stock
If a working compartment becomes empty while another full box sits elsewhere, the system needs a location note. Write the reserve location on the working label or keep a short inventory list with the case. Mark an item for checking before another purchase instead of assuming an empty cup means you own none.
Preserve the supplier’s size notation for both metric and inch-based hardware. Converting a length does not establish that two fasteners share a thread, material or intended use. Keep those identities separate unless the full product information establishes they are the same item.
Find related labeling and drawer methods in our small-tool and hardware storage guides.
Common questions
Should nails and screws share a box?
They can share a larger case if their labeled compartments remain separate and the case is suitable for the contents. Sharing a container does not require mixing loose items.
Can I organize entirely by length?
Length can be one sorting field within an already identified group. On its own, it does not distinguish different products, threads, materials or intended applications.
Should I throw away the original packaging?
Keep the original description and any relevant instructions accessible. You can transfer identified contents to suitable storage, but preserve the information first rather than relying on a shortened handwritten label alone.
Sources
- Bolt Depot: fastener-identification attributes.
- NIST: SI Units — Length, exact inch-to-millimeter relationship.
The sorting workflow and label template are editorial recommendations. They do not verify fastener grade, strength, material or suitability for a build.